Growing concerns over food adulteration and contamination are making consumers increasingly wary of packaged foods. Reports of unhygienic manufacturing practices and excessive additives have spurred a significant shift towards homemade alternatives. For health-conscious individuals seeking control over their diet, preparing basic staples at home is becoming the new norm.
The Perfect Homemade Solution: No-Fuss Bread
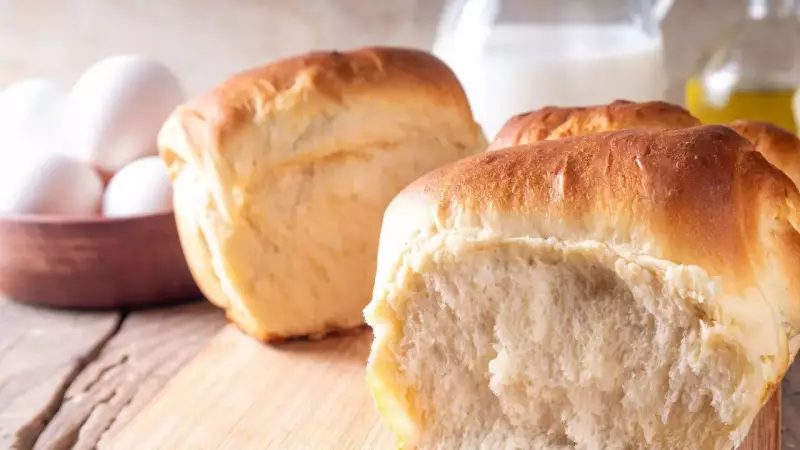
Imagine the aroma of freshly baked, soft, and fluffy bread without the complexity of traditional baking. This recipe offers exactly that—a gluten-free alternative to regular bread loaves that requires minimal effort. The biggest advantage is that you don't need an oven, yeast, or to go through the tedious process of kneading. It's an ideal solution for those on busy schedules or following low-carb diets.
Ingredients You Will Need
Gather the following simple ingredients: 1 cup of semolina (rava or sooji), 1/2 cup of curd or yogurt, 1/2 to 3/4 cup of water, salt to taste, and 1/2 teaspoon of Eno fruit salt or baking soda. For added flavor and nutrition, you can include optional add-ins like grated vegetables, cheese, or your favorite spices. You'll also need some butter or ghee to grease the sandwich maker. This quantity yields approximately 4 to 6 small bread slices.

Step-by-Step Preparation Guide
Preparing the Batter: Start by mixing the semolina, curd, salt, and water in a bowl to form a thick paste. Allow this mixture to rest for about 10 minutes, letting the semolina absorb the moisture. After resting, adjust the consistency with a little extra water if needed to achieve a smooth, flowing batter, but ensure it isn't too thin to prevent overflow during cooking. Just before you start cooking, stir in the Eno fruit salt. Once the batter turns frothy, it's ready, promising a light and soft texture for your bread.
Preheating the Maker: For a gas sandwich maker, place it on a medium flame for 2 to 3 minutes until properly heated, then grease the plates with butter or ghee. For electric models, simply plug it in and wait for the indicator light to signal readiness before greasing. A simple test is to sprinkle a few drops of water on the plate; if they sizzle, the maker is hot enough to proceed.
Cooking the Bread: Spoon about 1 to 2 tablespoons of batter into each slot of the preheated and greased maker. If using fillings like cheese, add them in the middle and top with a little more batter. Close the lid firmly. Cook for 2 to 4 minutes until the bread is golden brown. If using a gas model, you might need to flip it halfway for even cooking. Avoid overfilling the slots to allow the bread to rise evenly.
Pro Tips and Tasty Variations
For best results, maintain a thick batter consistency to help the bread hold its shape. Adding finely grated vegetables like carrots or zucchini can boost nutrition without making the bread soggy. Keep a close watch on the flame for gas models, while electric ones provide more uniform heat. Let the bread cool slightly before slicing, and store any leftovers in an airtight container for up to a day.
To keep things interesting, try savory variations with chopped onions, capsicum, or green chilies. For a sweet version, mix in some jaggery, aligning with Ayurvedic principles of using natural sugars. You can easily skip the cheese to make this a vegan-friendly recipe.
This easy, reliable method empowers you to enjoy fresh bread without the worries associated with store-bought packaged foods. It's a small step towards a healthier, more trustworthy kitchen.