As winter tightens its grip across many parts of India, from the northern plains to the Himalayan foothills, homeowners face a silent threat to their home security. The season's harsh conditions—freezing rain, heavy snow, and biting winds—can severely compromise the performance of outdoor security devices. Even models marketed as weatherproof are not fully immune, and depending solely on app alerts might leave your property vulnerable.
Essential Checks Before Winter Arrives
Experts who have rigorously tested security equipment in sub-zero conditions emphasize that a few proactive measures can make a monumental difference. The right preparation ensures your cameras continue to deliver clear, reliable footage through snowstorms and icy deluges, providing peace of mind when you need it most. This practical guide walks you through the crucial steps to shield your investment and maintain optimal performance.
1. Verify Weather Ratings and Operating Limits
Your first line of defence is understanding your camera's specifications. All outdoor cameras come with an IP (Ingress Protection) rating, a two-digit code indicating resistance to solids and liquids. For reliable winter operation, prioritise cameras with a rating of IPX5 or IPX6, which can effectively handle driven rain and snow.

Equally critical is the operating temperature range. While many standard models function down to -4°C, regions experiencing extreme cold may require specialised hardware. Checking this simple specification in the product manual can prevent a complete system failure during a temperature plunge.
2. Strategic Placement is Key
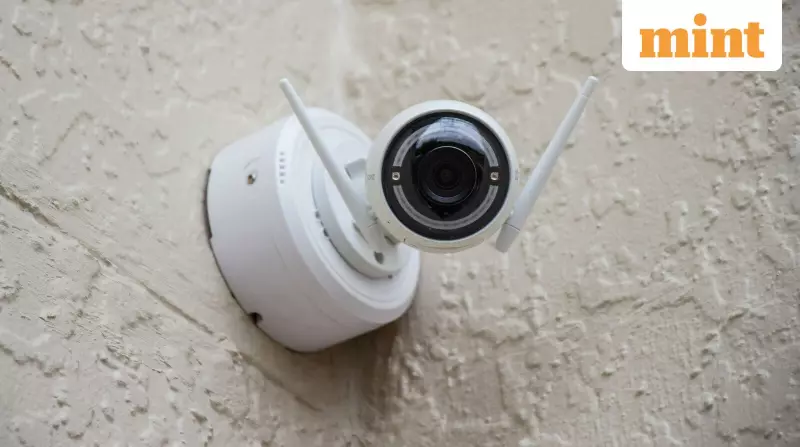
Physical positioning offers immense protection. Mount your cameras under sheltering structures like rooftop eaves, balconies, or awnings. This overhead cover prevents snow and ice from accumulating directly on the lens and housing, reducing maintenance needs and preventing mechanical freeze-ups that can halt recording.
Always angle cameras forward or slightly downward. A lens tilted upward acts as a catchment for precipitation, leading to water stains and dirt accumulation that obscure the view. A downward tilt promotes runoff and ensures a clearer picture.
3. Fortify Against Wind and Extreme Cold
Areas prone to strong gusts need special consideration. Position cameras away from exposed corners or open corridors where wind can blast snow, dust, and sleet directly into the device. Utilizing natural or artificial windbreaks, like walls or fences, can significantly reduce this abrasive impact.
For locations facing blizzards or sustained sub-zero temperatures, consider investing in a protective external enclosure. Think of it as a transparent, durable box that shields the camera. Some advanced enclosures even accommodate small heaters to prevent lens frosting, a worthwhile addition for extreme climates.
Securing the Hardware for Reliability
Often overlooked, the supporting hardware is just as vulnerable. For wired camera systems, ensure all cables are rated for outdoor use, featuring thick silicone jackets or additional shielding. Adding a weatherproof junction box for connections and power outlets provides a critical barrier against moisture and ice ingress.
Finally, reconsider your mounting method. Adhesive tapes and weak mounts can fail under the weight of ice or the force of winter storms. Opt for secure screw-in mounts to guarantee your cameras remain steadfastly in position, ensuring continuous surveillance and preventing accidental damage.
By implementing these expert-recommended steps, you can transform your security setup into a resilient winter watchman. These small, cost-effective precautions taken today will safeguard your cameras, deliver uninterrupted clear footage, and prevent expensive repairs, ensuring your home remains secure through the coldest months of the year.