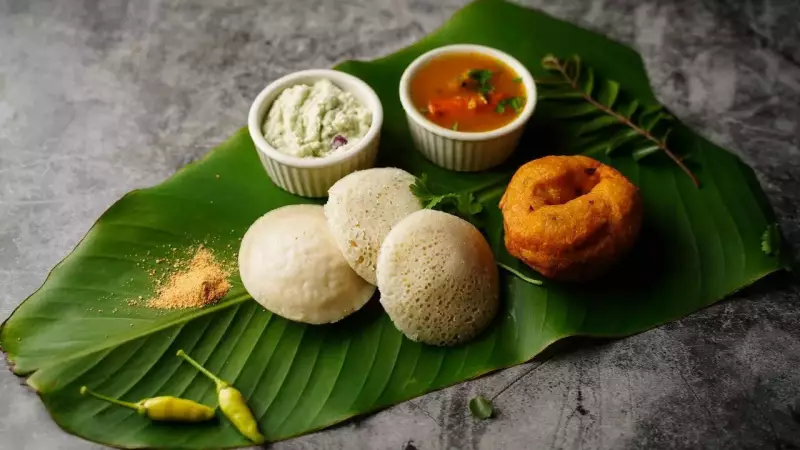
As winter sets in across India, a common kitchen frustration emerges for countless households: the idli and dosa batter simply refuses to ferment. You follow the trusted family recipe to the letter, yet the mixture remains stubbornly flat. The tell-tale bubbles and that familiar sour aroma are conspicuously absent, leaving you with dense idlis and limp dosas. Before you blame your ingredients or technique, understand that the culprit is often the weather itself.
Why Does Winter Hinder Batter Fermentation?
The science is straightforward. Fermentation is a natural process driven by beneficial bacteria and yeast, which thrive in warmth. When room temperatures drop during the colder months, the activity of these microorganisms slows down significantly. They take much longer to become active and multiply, which directly impacts the batter's ability to rise and develop the essential air pockets. This is not a failure of your recipe but a natural response to environmental conditions.
Proven Strategies for Perfect Winter Fermentation
The solution lies not in altering your core recipe but in making intelligent adjustments to accommodate the temperature. With a few simple shifts in your preparation and process, you can achieve that perfectly fermented batter even in peak winter.

1. Soak and Grind Ingredients Separately
While soaking rice and urad dal together is convenient, a separate soak can work wonders in winter. Soak them in different bowls. When grinding, ensure the urad dal is processed until it becomes exceptionally smooth and fluffy. This separate grinding allows the dal to incorporate more air, creating a lighter base that traps air better during fermentation, leading to softer idlis and crispier dosas.
2. Find the Warmest Spot in Your Kitchen
Location is critical for winter fermentation. Scout your home for consistently warm microclimates. Ideal spots include inside an oven (with only the internal light switched on), near a gas stove that's in periodic use, inside a closed cupboard, or in the vicinity of an electric heater. For extra insulation, you can wrap the batter container in a thick blanket or towel to retain gentle warmth.
3. Embrace Patience and Use a Natural Starter
Winter fermentation requires more time. What takes 6-8 hours in summer can easily extend to 24 hours in colder climates. Do not rush the process. If you have a portion of previously fermented batter, use a small amount as a natural starter for your new batch. This introduces active cultures immediately, giving the fermentation process a significant head start.
4. Leverage Your Oven's Warmth
Your kitchen oven can be a fermentation saviour. There's no need to turn it on. Simply preheat it briefly, then turn it off. Place your batter container inside and rely on the residual warmth, or just use the heat generated by the oven's internal light. This creates a stable, slightly warm environment perfect for encouraging bacterial activity without cooking the batter.
(Disclaimer: The tips provided are based on common home kitchen practices and general experience. Results can vary based on specific weather conditions, ingredient quality, water properties, and individual kitchen environments. This article is for general guidance purposes.)