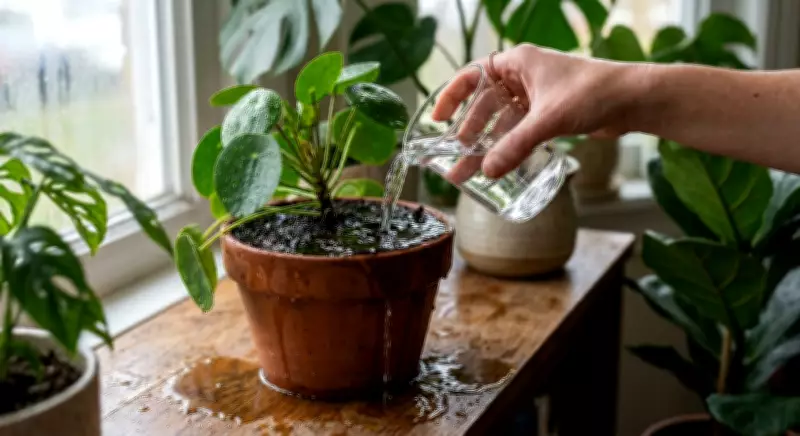
You water your plant, but it still looks sad, so you water it again. It keeps drooping. The leaves turn yellow. Something is clearly wrong, but the ground is soaking wet, so more water cannot be the answer, right? If this rings a bell, your plant may already be in a root rot crisis, and the clock is ticking.
The good news is that if you act today, you may still be able to save it.
The Real Culprit: Wet Soil
Most plant owners think of root rot as a watering problem; however, it is actually a soil problem. Roots left in wet soil for too long are robbed of the oxygen they need to function. A study titled A Review of Soil Waterlogging Impacts, Mechanisms, and Adaptive Strategies found that waterlogged conditions lower oxygen levels in the root zone, triggering a series of physiological failures. In effect, your plant’s roots start to suffocate before they rot.

Fungi move fast once the rot starts. The usual suspects are Pythium, Phytophthora, and Rhizoctonia, and they thrive in the very environment your wet pot provides. A study published in the journal mSystems found that the wetter the soil, the worse the root rot. More soil moisture levels directly result in more disease incidence.
The cruel irony is that an overwatered plant may actually look thirsty. The roots are rotted and cannot absorb water, and the leaves wither and dry up while the soil is soaked. If you see a wilting plant and grab the watering can, you are making things worse.
Pull It Out and Look at the Roots
The first and most practical step in saving your plant is also the most hands-on: take it out of the pot. Support the container gently and pull the plant out by its base. Do not jerk it; tilt the pot on its side if you have to.
Once it is out, check the roots. Healthy roots are pale and firm, sometimes white or light tan. Rotting roots are usually brown or black, soft and mushy. They may also smell a little off. What you want to see is the ratio: are there still enough firm, healthy roots to give this plant a fighting chance?
If most of the roots look good, you are in good shape. If most are soft and gone, recovery is possible but less certain. In either case, the next step is the same.
The Same-Day Rescue Starts Here
Lift the plant, inspect the roots, and remove anything soft or discoloured before it spreads.
Cut the Damage and Re-pot in a Fresh Mix
Cut off any roots that you find soft and mushy with clean scissors or pruning shears. Be thorough, because if you leave rotted tissue, the fungus will keep spreading. After pruning, you are left with whatever healthy root system there is.
Now comes the reset. Do not replace the plant in the same wet soil. Discard it. The old mix is contaminated and will have the same wet conditions that caused the problem. Repot in a clean container with fresh potting mix.
One important note on sizing: bigger is not better here. A small plant in a large pot will sit surrounded by more soil than its roots can pull moisture from, meaning the mix stays wet longer. Select a pot that is just big enough to accommodate the plant, with a little room for growth, and has drainage holes.
Skip the Gravel Trick
You may have heard that a layer of gravel at the bottom of the pot improves drainage. It does not. This is one of the most stubborn myths in houseplant care. Actually, the layer of gravel creates a perched water table within the pot, so the water sits right above the gravel and does not drain through. The roots still sit in standing moisture at the end of the day, only a little higher up.
Choose the right pot and potting mix to improve drainage. That is the real fix.
What Recovery Really Looks Like
Do not be tempted to water immediately after repotting. The new mix is slightly damp, and the roots have been under a lot of stress. Wait a few days and then check the soil with your finger before watering again. If it is still damp, wait. You are not on a watering schedule anymore; you are watching the soil.

When it is recovered, put it in a stable spot with indirect light. Do not fertilise at this stage. All you want is to let the roots settle down without any more demands being made on them. Some plants bounce right back. Some will take a few weeks to show new growth, and some, especially where the root damage was severe, may not survive. This is the hard truth of root rot, but if you act the same day you see the problem, you give your plant the best chance.
If your container plant is sitting in wet soil right now, do not wait it out. Pull it, check it, trim it, and start it new. The whole process takes less than an hour, and it could be the thing that saves your plant.