Great mobile photography isn't just about having the latest or high-end phones. A lot depends on how you use the camera settings. In the end, practice is the best 'tool'.
Your friend strikes a perfect pose or you point your smartphone at a gorgeous sunset, tap the shutter, but somehow the photo looks nothing like what your eyes saw. Meanwhile, someone on Instagram seems to be posting cinematic masterpieces captured with the same phone. The truth? Great mobile photography isn't just about having the latest phone. Whether you're using a Samsung Galaxy S26 Ultra, iPhone 17 Pro, Google Pixel 10 Pro, Xiaomi 15 Ultra or Vivo X300 Pro, a lot depends on how you use the camera settings hidden inside your phone.
Before your next vacation, cafe visit or random candid moments, here's a guide to the settings that can level up your photography game.

AI Scene Optimisation
Artificial intelligence has become the biggest photographer in your phone. Most flagship devices can recognise shots of food, pets, sunsets, portraits, etc, within seconds. The camera automatically tweaks colours, contrast, sharpness and exposure to make the image pop. For most users, keeping AI scene optimisation enabled is a no-brainer. But if your photos start looking a little too extra, with colours cranked up to influencer levels, dial it back for a more natural vibe.
Aspect Ratio: Frame It Right
Most phones default to 4:3, which is great for general photography and captures the most image data. But if you want those insta-worthy shots, switch to 16:9. For Instagram stories or reels, go with 9:16 and save yourself awkward cropping later. And if you're planning to print photos or crop them heavily, stick to the camera's native full-resolution format.
ISO: Beat the Noise
ISO controls how sensitive your camera is to light. Low ISO means cleaner, sharper images. High ISO brightens dark scenes but also introduces grain and noise. On Android flagships, you can manually adjust ISO in pro mode. iPhones mostly handle it automatically, though third-party apps offer manual control. Either way, the rule stays the same: keep ISO as low as possible.
Portrait Mode: Beyond Selfies
Portrait mode creates a professional-looking blurred background, often called bokeh. Most people use it only for selfies, but portrait mode works brilliantly for food photography, flowers, pets and even coffee cups for that premium Instagram aesthetic. Modern phones use depth sensors and AI edge detection to separate subjects from the background. Just don't get too close. That's when the blur starts looking more AI-generated than artistic.
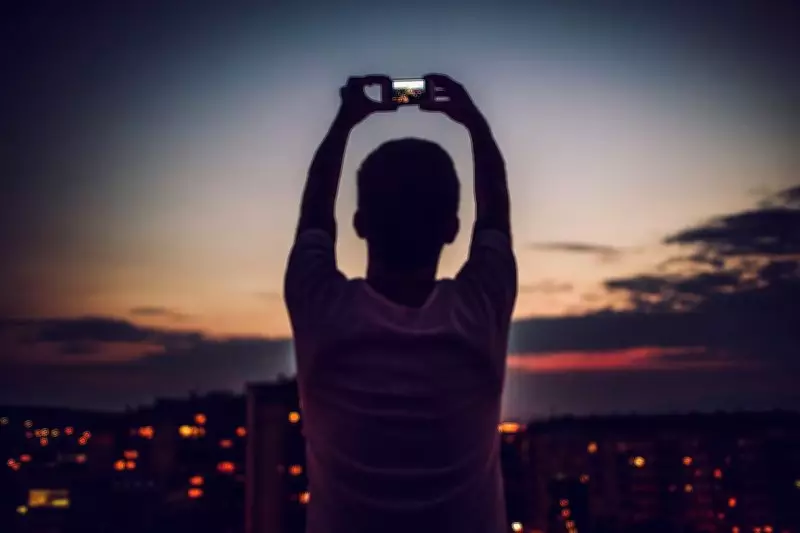
Night Mode: Let the Darkness Cook
In recent smartphones, night mode allows the camera to gather more light over several seconds, producing brighter and cleaner images. It's perfect for city lights, festivals, monuments and evening street photography. The biggest mistake people make? Moving the phone. Hold it steady, lean against a wall or use a tripod. The results can be surprisingly cinematic.
Resolution: Megapixels Not Everything
Many flagship phones today offer up to 200MP shooting modes. Sounds impressive, but more megapixels don't automatically mean better photos. For everyday social media posts, the standard camera mode is usually enough. Switch to full-resolution mode when shooting landscapes, travel scenes or anything you might crop later.
Grid Lines: Weapon of Composition
This might be the most underrated camera setting ever. Turning on grid lines divides your screen into sections, helping you frame images using the well-known 'rule of thirds'. Place people slightly off-centre. Align horizons with the grid. Frame buildings more symmetrically. It's a tiny tweak, but it instantly makes photos look more polished.
Exposure: Control the Glow
Ever taken a photo that looked too bright or too dark? Before pressing the shutter, adjust the exposure slider. Most phones let you swipe up or down after tapping on the subject. Lower exposure for sunsets and neon-lit streets. Increase it slightly for portraits taken in the shade. A 2-second adjustment can turn an average snap into a genuine scroll-stopper.

Histogram: The Nerd Tool
Available in the Pro modes of many Android flagships, the histogram is simply a graph showing how bright or dark your image is. If the graph is bunched up on one side, chances are your photo is either overexposed or underexposed. It is quite easy to use. A small tool, but a surprisingly useful one.
Practice That Shot
The best camera setting isn't AI optimisation, night mode or RAW. It's practice. Professional-looking smartphone photography rarely comes with luck. It comes from understanding when to use the right settings and experimenting with different scenes. So the next time your food arrives looking suspiciously photogenic or the sky starts serving sunset magic, don't just point and shoot. Dive into those camera settings. Your phone is probably capable of far more than you think, and yes, your future Instagram page will thank you.